Introduction to Shopify and eCommerce Fundamentals
Contents
Access
Plan

Instructor
John Patrick Yalung
About this Course
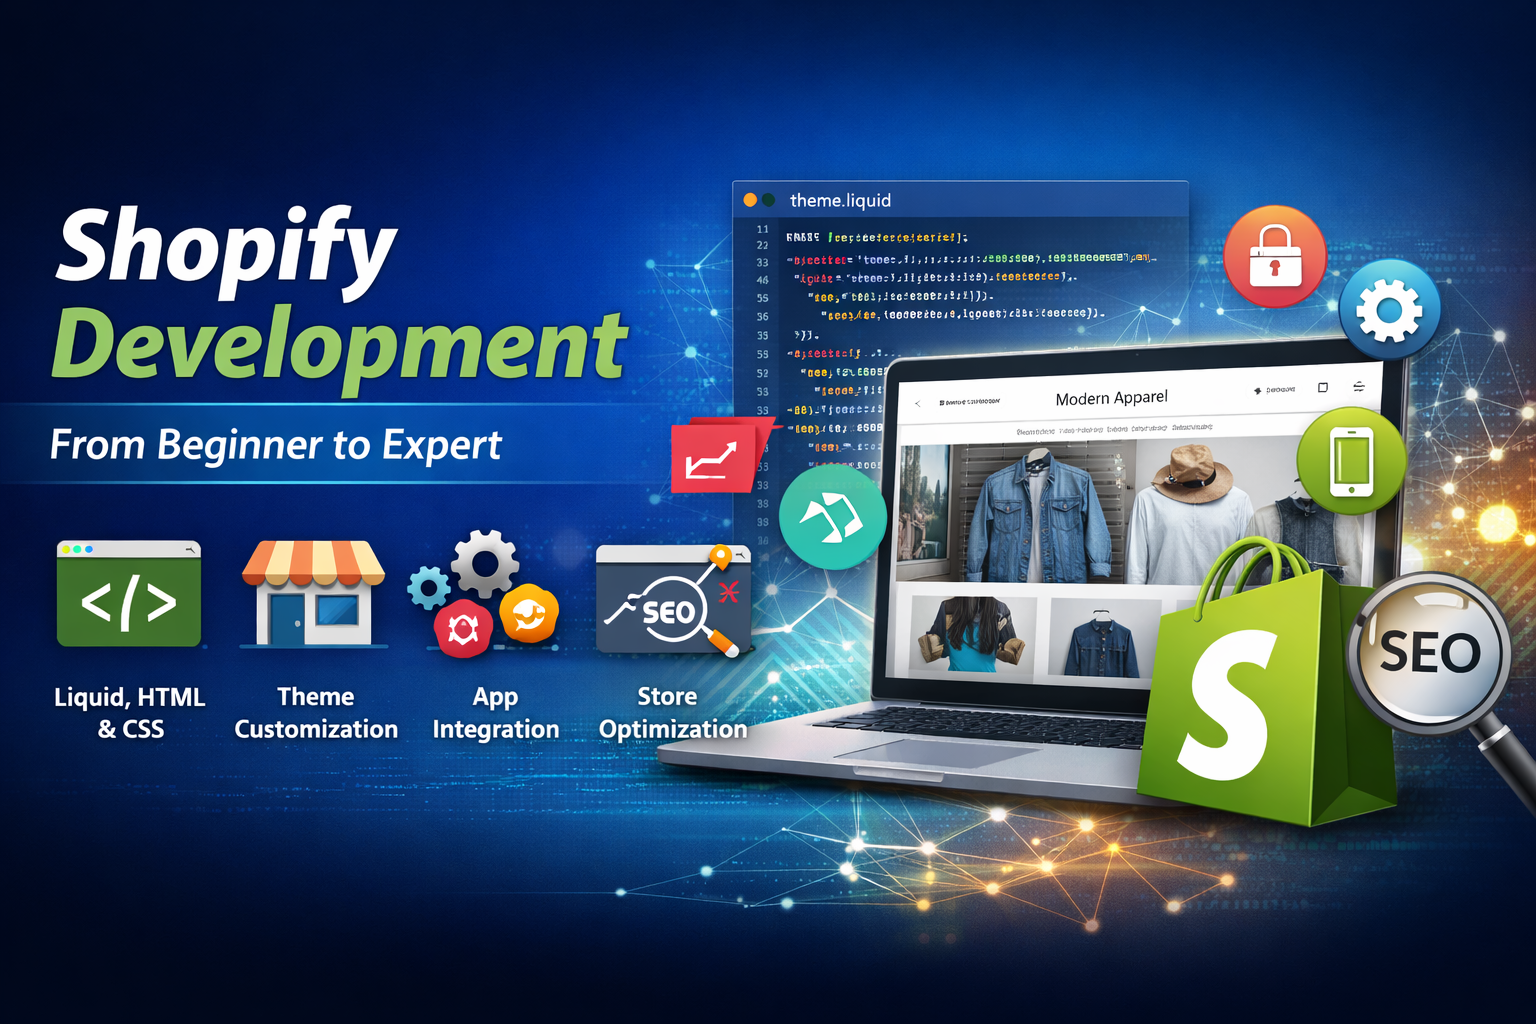
This course is designed to help students and aspiring developers learn how to build, customize, and manage Shopify stores from scratch. It covers everything from Shopify fundamentals to advanced theme development using Liquid, HTML, CSS, and JavaScript.
Students will learn how to set up products an...
# Syllabus
4 itemsIntroduction to Shopify and eCommerce Fundamentals
TextShopify is a cloud-based eCommerce platform that allows individuals and businesses to create, manage, and scale online stores without needing to build everything from scratch. It provides the core infrastructure needed to sell products online, including hosting, security, checkout, payments, and order management.
At its core, Shopify works by combining three main components: the admin dashboard, the storefront, and the checkout system. The admin dashboard is where store owners manage products, pricing, orders, customers, and settings. The storefront is the public-facing website that customers interact with, while the checkout system securely handles payments and order completion.
Shopify supports different business models such as physical products, digital products, services, subscriptions, and dropshipping. Because it is fully hosted, users do not need to worry about server maintenance, updates, or security patches. Shopify also offers a large ecosystem of themes and apps that extend store functionality, allowing customization without rebuilding core features.
From a development perspective, Shopify uses Liquid as its templating language, along with standard web technologies like HTML, CSS, and JavaScript. This makes Shopify accessible to beginners while still powerful enough for advanced customization and large-scale stores.
This lesson establishes the foundation needed to understand how Shopify stores are structured and how developers and store owners work within the platform. In the next lessons, you will start setting up a Shopify store and navigating the admin interface in detail.
Setting Up Your Shopify Store: Account, Dashboard & Store Settings
TextIn this lesson, you will learn how to set up your Shopify store from scratch and navigate the Shopify admin dashboard. Setting up a store correctly from the beginning ensures smooth management and scalability in the future.
- Creating a Shopify Account
Go to Shopify.com and click Start Free Trial.
Enter your email, create a password, and choose your store name.
Fill in basic business information, including address, phone number, and currency.
- Navigating the Shopify Admin Dashboard The Shopify admin is the control center for your store. Key sections include:
Home: Overview of sales, traffic, and important updates.
Orders: View, manage, and fulfill customer orders.
Products: Add, organize, and manage inventory.
Customers: Track and manage customer details and interactions.
Analytics: Access reports on sales, traffic, and store performance.
Marketing: Run campaigns and promotions.
Apps: Install apps to extend store functionality.
Settings: Configure store details, payments, shipping, taxes, and checkout.
- Configuring Basic Store Settings
General Settings: Store name, contact information, and time zone.
Payments: Connect payment gateways such as Shopify Payments, PayPal, or Stripe.
Shipping: Set up shipping zones, rates, and delivery methods.
Taxes: Configure tax settings based on your region.
Checkout: Customize customer checkout experience.
- Tips for a Smooth Setup
Use a temporary password to test store functionality before going live.
Choose a default currency that matches your primary market.
Set up at least one test product to understand product creation and management.
By the end of this lesson, you will have a fully functional Shopify store setup and a solid understanding of how to navigate the dashboard and configure essential settings.
Adding Products and Organizing Collections
TextIn this lesson, you will learn how to add products to your Shopify store, organize them into collections, and make them ready for customers to browse and buy. Proper product setup is essential for a smooth shopping experience and higher conversions.
- Adding Products To add a product:
Go to Products → All Products → Add Product in the Shopify admin.
Fill in the product details:
Title: Clear and descriptive product name.
Description: Highlight key features, benefits, and specifications.
Images: Upload high-quality images showing the product from multiple angles.
Pricing: Set the product price and compare-at price (if you want to show discounts).
Inventory: Track stock levels by enabling inventory tracking.
Shipping: Set weight and shipping options.
Variants: Add product variants like size, color, or material.
Set SEO settings (optional but recommended) to help search engines find your product.
- Creating Collections Collections are groups of products organized by category, theme, or any criteria you choose.
Go to Products → Collections → Create Collection.
Choose Manual Collection (you add products manually) or Automated Collection (products are added automatically based on conditions like price, tags, or product type).
Add a Title, Description, and Featured Image for the collection.
Assign products (manually or automatically based on conditions).
- Organizing Products with Tags and Types
Product Type: Helps classify your products (e.g., Shoes, Accessories).
Tags: Keywords that make products searchable and filterable on your store.
Vendor: Add brand or manufacturer info.
- Tips for Effective Product Setup
Use clear and descriptive titles and images.
Add at least 3-5 images per product to increase trust.
Use SEO-friendly descriptions and keywords.
Group products logically into collections for easy navigation.
By the end of this lesson, you will have your first products added, organized into collections, and ready for customers to browse, making your store look professional and easy to navigate.
Adding Products and Organizing Collections
TextIn this lesson, you will learn how to add products to your Shopify store, organize them into collections, and make your store easy for customers to navigate. Proper product setup is key to a professional and functional online store.
- Adding Products To add a product:
Go to Products → All Products → Add Product in your Shopify admin.
Fill in the product details:
Title: Clear, descriptive name.
Description: Highlight features, benefits, and specifications.
Images: Upload high-quality images showing different angles.
Pricing: Set the product price and compare-at price for discounts.
Inventory: Enable inventory tracking and set stock quantity.
Shipping: Enter product weight and shipping options.
Variants: Add options like size, color, or material.
Optionally, set SEO settings to improve search visibility.
- Creating Collections Collections group products for easier browsing.
Go to Products → Collections → Create Collection.
Choose between:
Manual Collection: Add products yourself.
Automated Collection: Products are added automatically based on conditions like price, tags, or product type.
Add a Title, Description, and Featured Image.
Assign products to the collection.
- Organizing Products
Product Type: Categorize products (e.g., Shoes, Accessories).
Tags: Add keywords to make products filterable and searchable.
Vendor: Add the brand or manufacturer.
- Tips for Effective Product Setup
Use clear, SEO-friendly titles and descriptions.
Add 3–5 high-quality images per product.
Group products logically in collections for easy navigation.
Regularly review inventory and product information for accuracy.
By the end of this lesson, you will have a fully populated store with products and collections organized for customers, ready to provide a smooth shopping experience.
Brought to you by